Showing posts with label cheap craft. Show all posts
Monday, September 5, 2011
Labor Day
This labor day feels like a strange one to me. I feel like I should be settling down in a new place and preparing for opening worship tonight. I feel like I should be getting my books together for class tomorrow and going to see my classmates and meeting the new class. I think this is the first year since I was three that I haven't been going to school! It is a great and strange feeling. Instead I am spending my day with Dakota and Gus and Luther (I am dog sitting for a youth director in town). I am spending my day taking pictures of the caterpillars as they go by on the sidewalk next to me. I am spending my day shutterflying my pictures into albums. I am spending my day relaxing and having a blast working on all sorts of craft projects, crocheting, and reading a book. I plan to do a little cooking and baking later today. I am loving it!
Monday, July 11, 2011
Picture Coasters
I seem to be at the age when I am attending a ton of weddings and wedding gifts get a bit expensive. We'll my recent gift that I have started giving to couples is one that I make myself, due to cost and it is much more fun that buying hand towels or bathroom towels or things along that line.
Step 1: Buy 4.25 square tiles (I guess any size would work technically, I bought a case of the tiles for $11), cork board, and Pour On (I got all of this at Menards, for just under $30 and I have 100 tiles, enough cork for 48 coasters, and I'm not yet sure how long the pour-on will last but so far it is lasting quite a while)
You will also need to gather: plastic cups, a plastic spoon, a garbage bag, and whatever supplies you want to decorate your tile
Step 2: Decorate the tiles however you please, I like to print out pictures and decorate the background and then place a picture of the couple on top. I do print the pictures on matte photo paper so that the color doesn't bleed from whatever I put behind the picture. I have used parts of the wedding invitation and save the date card to help decorate the tiles. I used rubber cement to stick everything together.
Step 3: Elevate the tiles on upside down plastic cups over a garbage bag (so the excess pour-on will drip onto the garbage bag and you won't have to pick the pour-on off of your counter top)
Step 4: Mix the Pour-On (in a plastic cup) according to the package directions
Step 5: I use a plastic spoon to spread the pour-on over the tiles. If bubbles occur you can just blow on the bubbles and the go away. The great thing about pour-on is that it is self leveling!
Step 6: Let the pour-on harden and dry
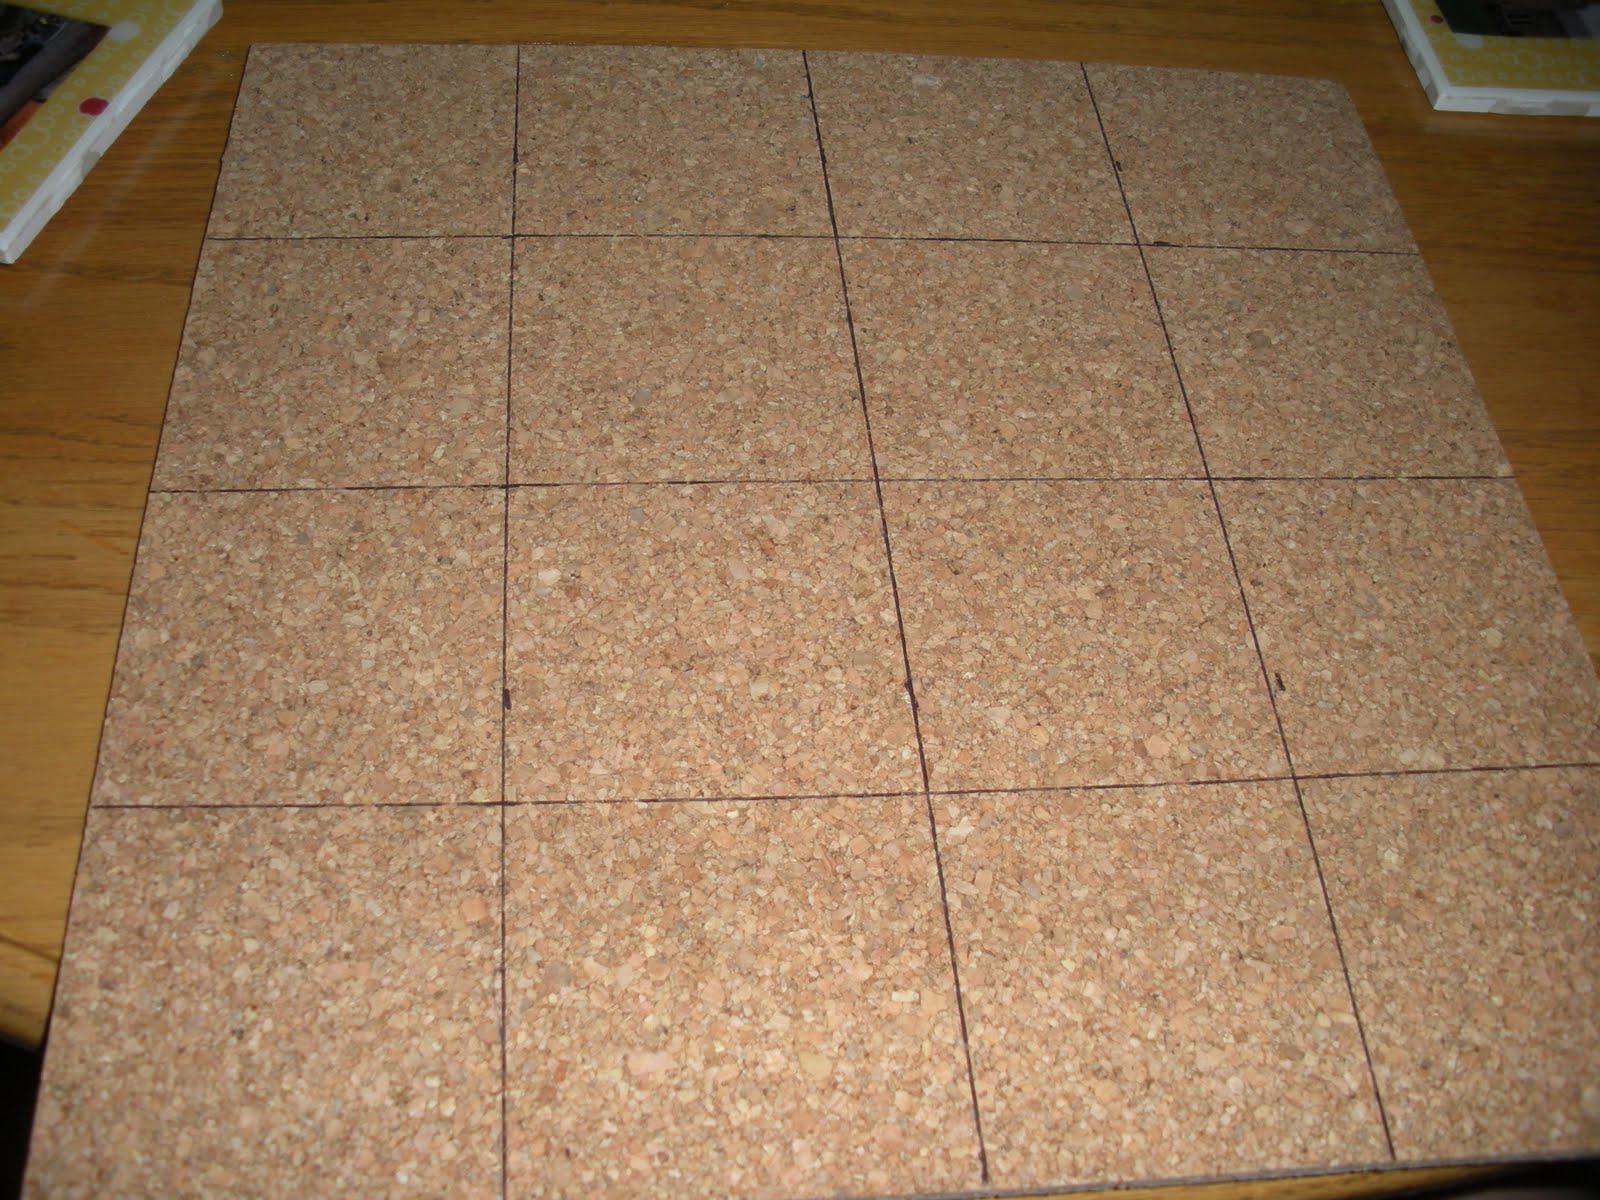
Step 7: Cut the cork board into 3 inch squares
Step 8: Rubber cement the cork board to the back of the tiles
Step 9: wrap and give as a gift or keep for yourself
Let me know if you have any questions.
Step 1: Buy 4.25 square tiles (I guess any size would work technically, I bought a case of the tiles for $11), cork board, and Pour On (I got all of this at Menards, for just under $30 and I have 100 tiles, enough cork for 48 coasters, and I'm not yet sure how long the pour-on will last but so far it is lasting quite a while)
You will also need to gather: plastic cups, a plastic spoon, a garbage bag, and whatever supplies you want to decorate your tile
Step 2: Decorate the tiles however you please, I like to print out pictures and decorate the background and then place a picture of the couple on top. I do print the pictures on matte photo paper so that the color doesn't bleed from whatever I put behind the picture. I have used parts of the wedding invitation and save the date card to help decorate the tiles. I used rubber cement to stick everything together.
Step 3: Elevate the tiles on upside down plastic cups over a garbage bag (so the excess pour-on will drip onto the garbage bag and you won't have to pick the pour-on off of your counter top)
Step 4: Mix the Pour-On (in a plastic cup) according to the package directions
Step 5: I use a plastic spoon to spread the pour-on over the tiles. If bubbles occur you can just blow on the bubbles and the go away. The great thing about pour-on is that it is self leveling!
Step 6: Let the pour-on harden and dry
Step 7: Cut the cork board into 3 inch squares
Step 8: Rubber cement the cork board to the back of the tiles
Step 9: wrap and give as a gift or keep for yourself
![]() | ||
| Final Product |
Let me know if you have any questions.
Labels:
cheap craft,
easy craft,
fun craft,
present,
projects,
wedding gift
Subscribe to:
Posts (Atom)